Total Items: 0
Sub Total: $0.00
If that all sounds familiar and you need to get your hiking boots adventure-ready ASAP, follow this step-by-step guide to getting those dusty old boots back to their former glory and make sure they are ready to perform for your next outing!
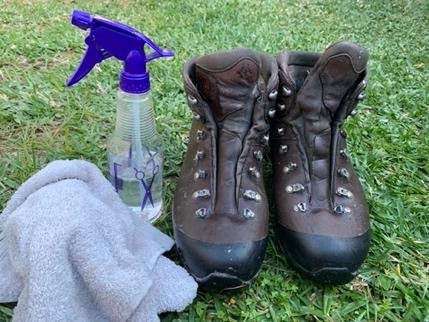
Before you get started, there are a few things you’re going to need:
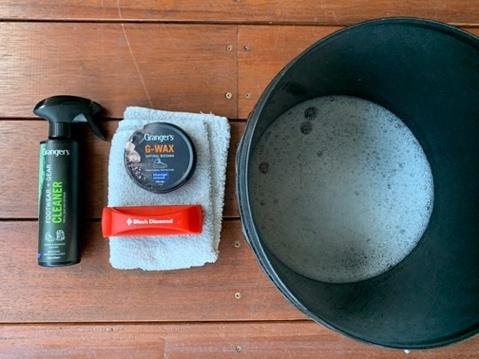
Step 1.
Once you have the above items, lay them out and take a photo of it all to prove to your mates that you know your stuff and that you’re a Handy Sandy!
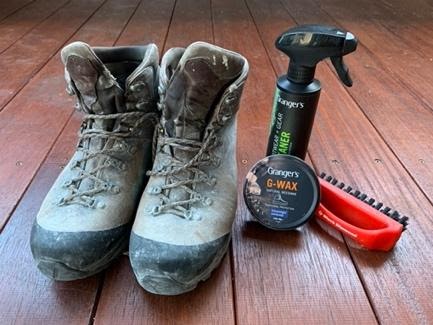
Step 2.
Remove laces from boots.
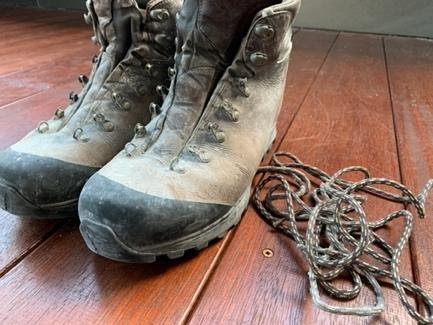
Step 3.
Scrub boots clean with warm soapy water.
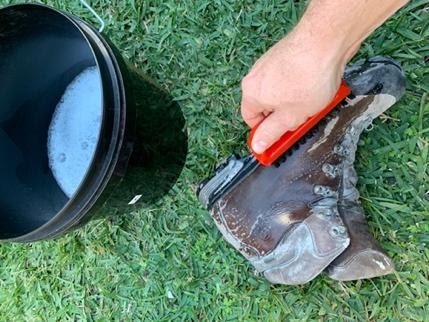
Looking better already! But not there yet…
Step 4.
Clean off soap suds with clean water.
* Ideally you would leave the boots to air dry but if you’re short on time, just pat dry with a clean towel.
Step 5.
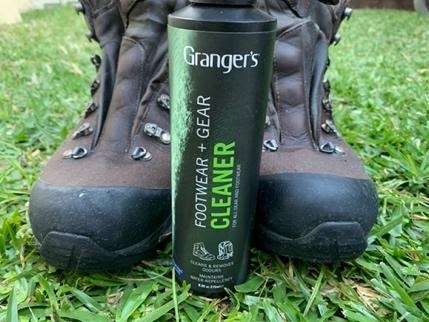
Spray boots down with Granger’s Footwear + Gear Cleaner. Give them a good dosing and let the leather absorb the cleaner for a minute.
Step 6.
Pat dry with a clean, damp cloth or towel and let sit outside to air dry.
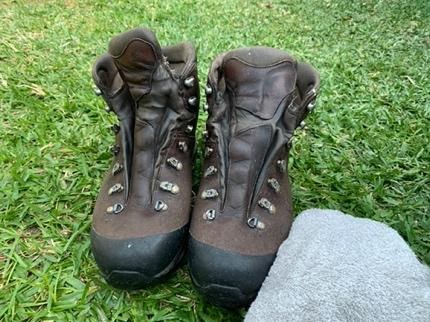
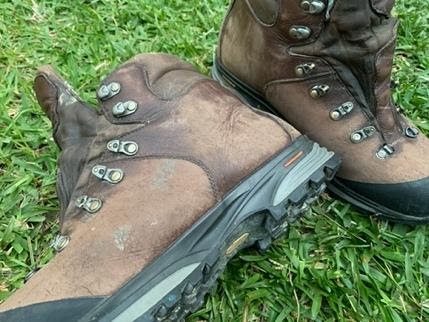
When fully dry, the parts of the boots where the waterproofing has faded will become visible.
Before you move on, chuck those dirty boot laces in the bucket of hot soapy water and let them soak while you do the next steps. Here’s where things start to get technical!
Step 7.
Crank that hairdryer up to max and start heating the leather. This can take some time, but you want the leather to be warm before applying the wax.
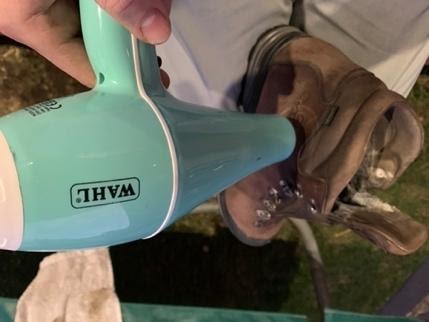
Heating opens the pores of the leather and allows the wax to be absorbed deeper, making for a more waterproof and longer-lasting result. It will also allow the wax to melt slightly upon application, making it easier to spread evenly across the boot. Heat every aspect of the boot except the rubber sole, being careful not to overheat as this can damage the glue. Do this to 1 boot only at this stage.
Step 8.
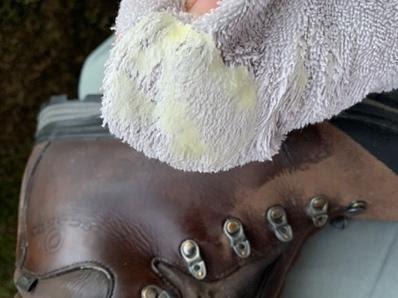
Apply Granger’s G-Wax to warm leather boot with a clean, dry cloth in semi-generous amounts. Apply only on the 1 boot.
Step 9.
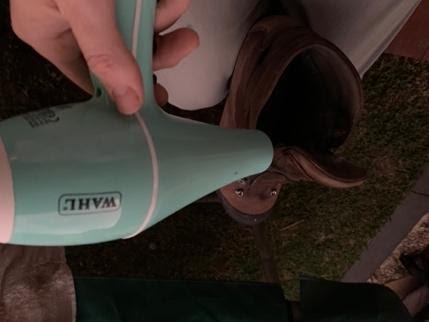
Heat the next boot with the hairdryer in the same fashion you did the previous one.
Step 10.
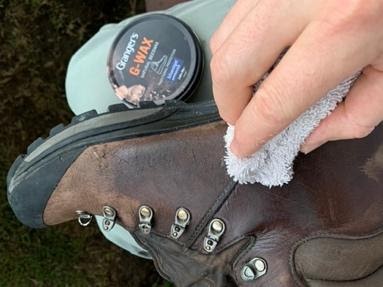
Apply G-Wax to next boot once warm. Ensure a good coat across every bit of leather, especially the tongue, all the corners and creases and along all stitching and seams.
Step 11.
Bask in the glory of your handy work! Then leave them outside to air dry, ideally for 24hrs. Now is also the time to grab those laces out of the bucket, ring them dry and hang them somewhere to dry fully.
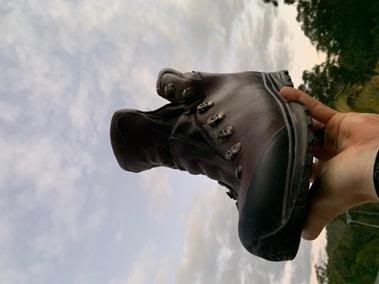
Step 12.
Your boots should be looking pretty darn good by now but crack out the dryer and repeat steps 7-10, to apply a second coat. Leave to air dry for another 24hrs.
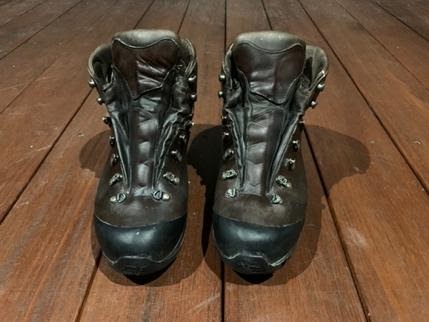
*If you don’t have time for step 12 as the car is packed and your mates are waiting, whack the laces on and go. One coat is better than none!
Step 13.
Once the second coat is dry, get those laces off the line and lace those bad boys up! You might have to poke some wax out of the lace guides too.
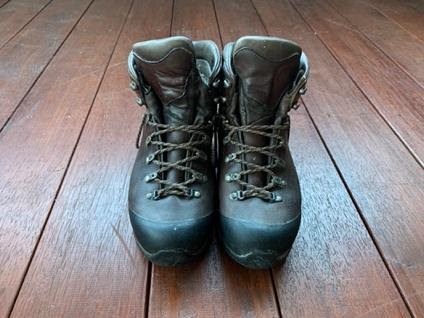
You're all set! Not only do your boots look brand new again but they are also freshly waterproofed and ready for the next adventure! Now go stomp in some puddles and watch the water bead off those shiny leather boots, you’ve earned it.
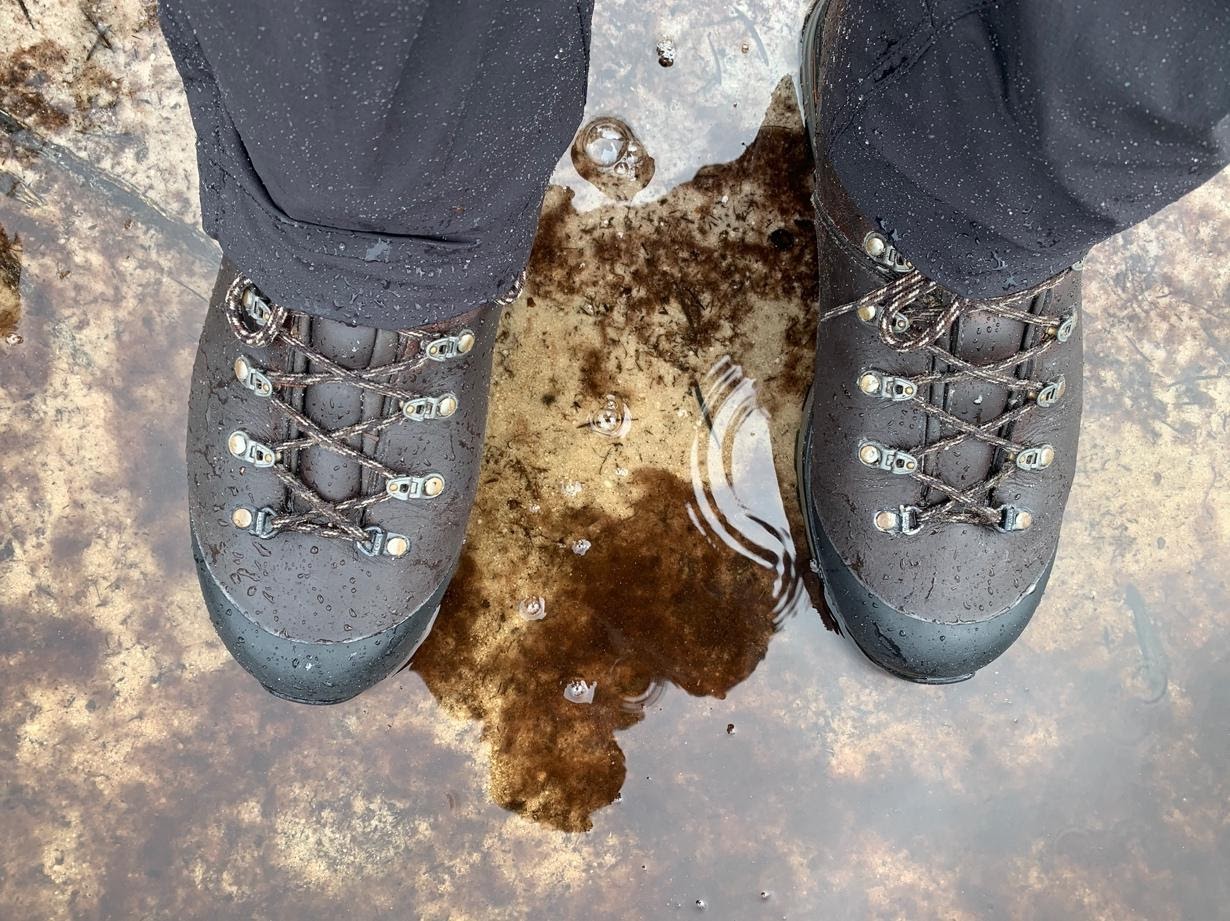
This photo was taken at the start of a 5 day hike the morning after I re-sealed my boots… stoked!
After every hiking trip, it is advised to brush excess dirt/mud/whatever from your boots before putting them away. Ensure you scrub the soles of the boots where dirt and mud is most likely to be stuck. When storing your boots, it’s always recommended to store them in a dry environment to avoid moisture build-up. We also recommend removing the insoles so they can dry properly and avoid getting stinky between uses.
Follow Nathan on Instagram at @setinstoneseq and tag your photos with #MyWildEarth for a chance to be featured.